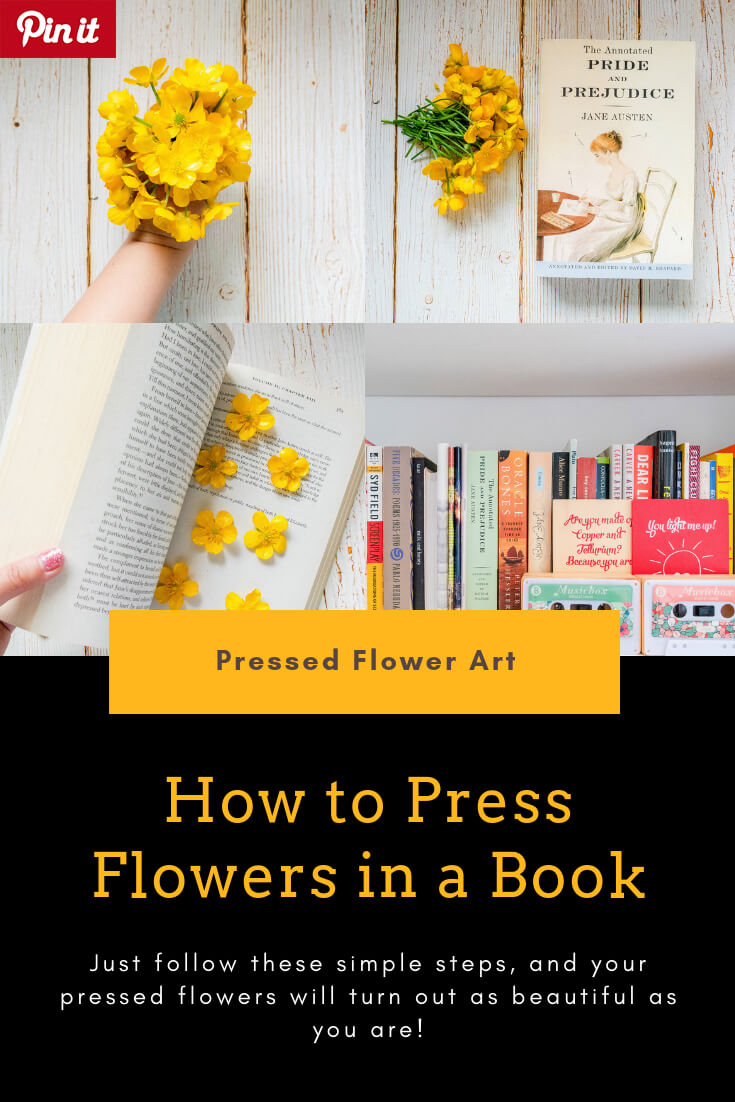
With summer upon us, more and more flowers have started to bloom. If you've been thinking about pressing some flowers, summer is the perfect time to start. There are so many ways to press flowers to preserve their beauty, and pressing them in books is the easiest way to do it. Just follow these simple steps, and your pressed flowers will turn out as beautiful as you are!
Materials:
Flowers
Heavy Book
Parchment Paper (recommended for better results)
Weight (can be more books)
Steps:
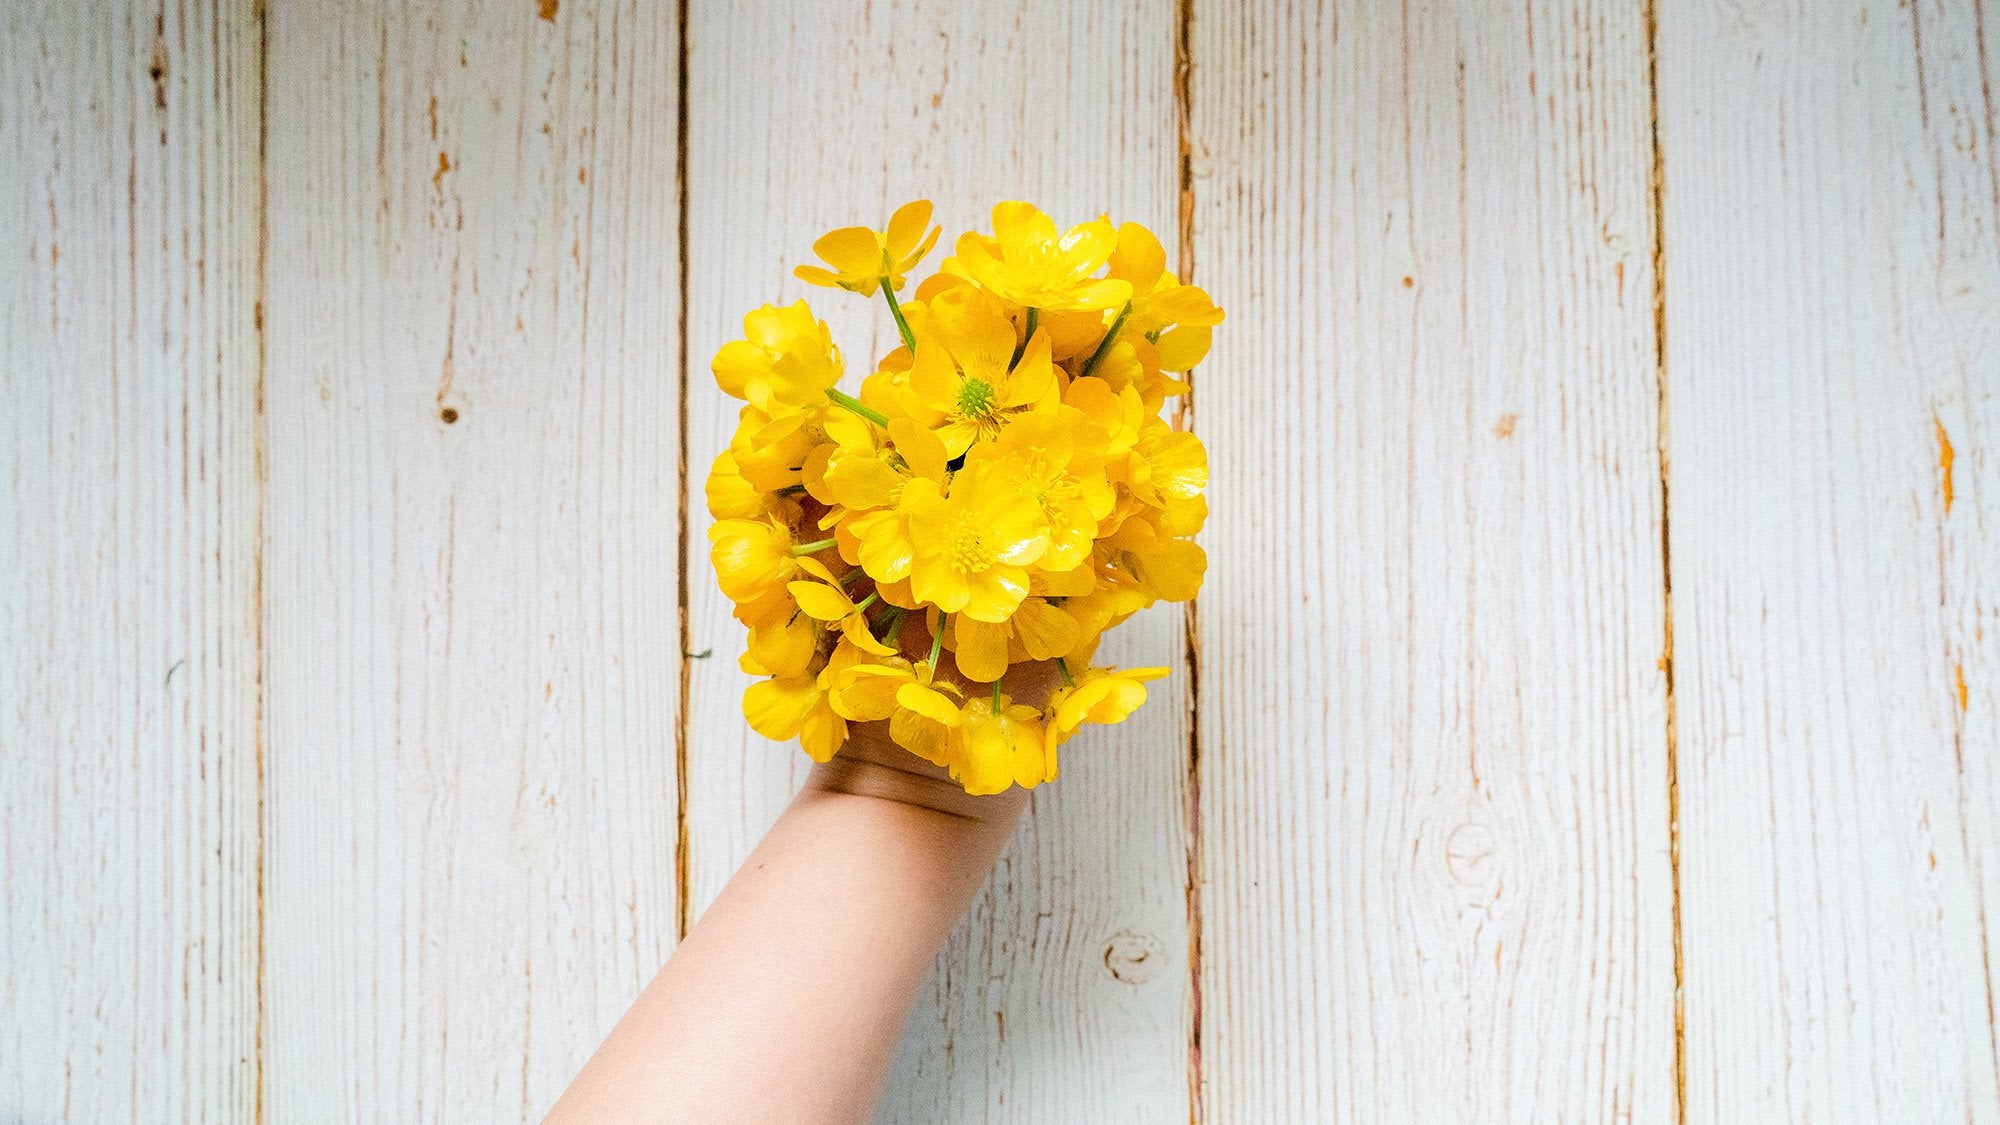
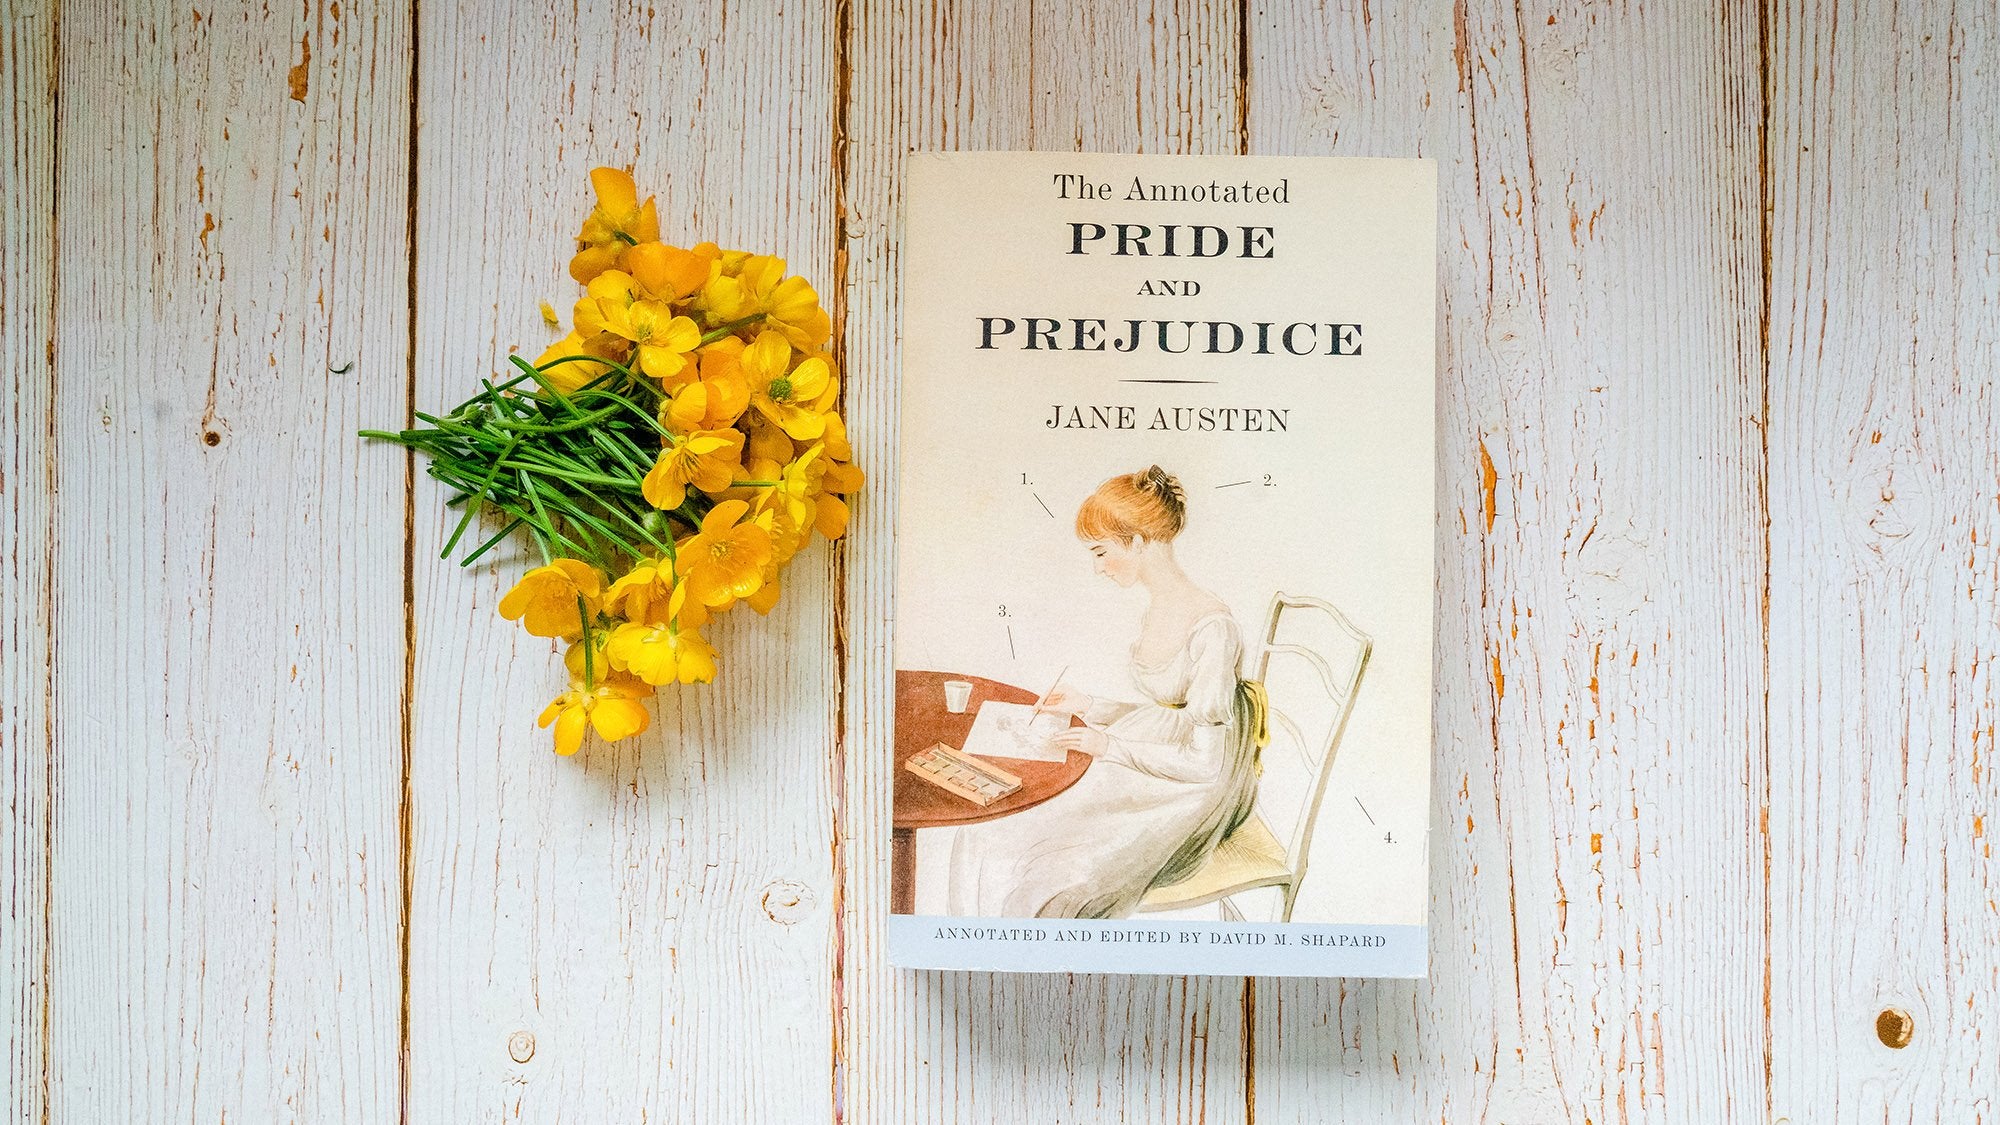
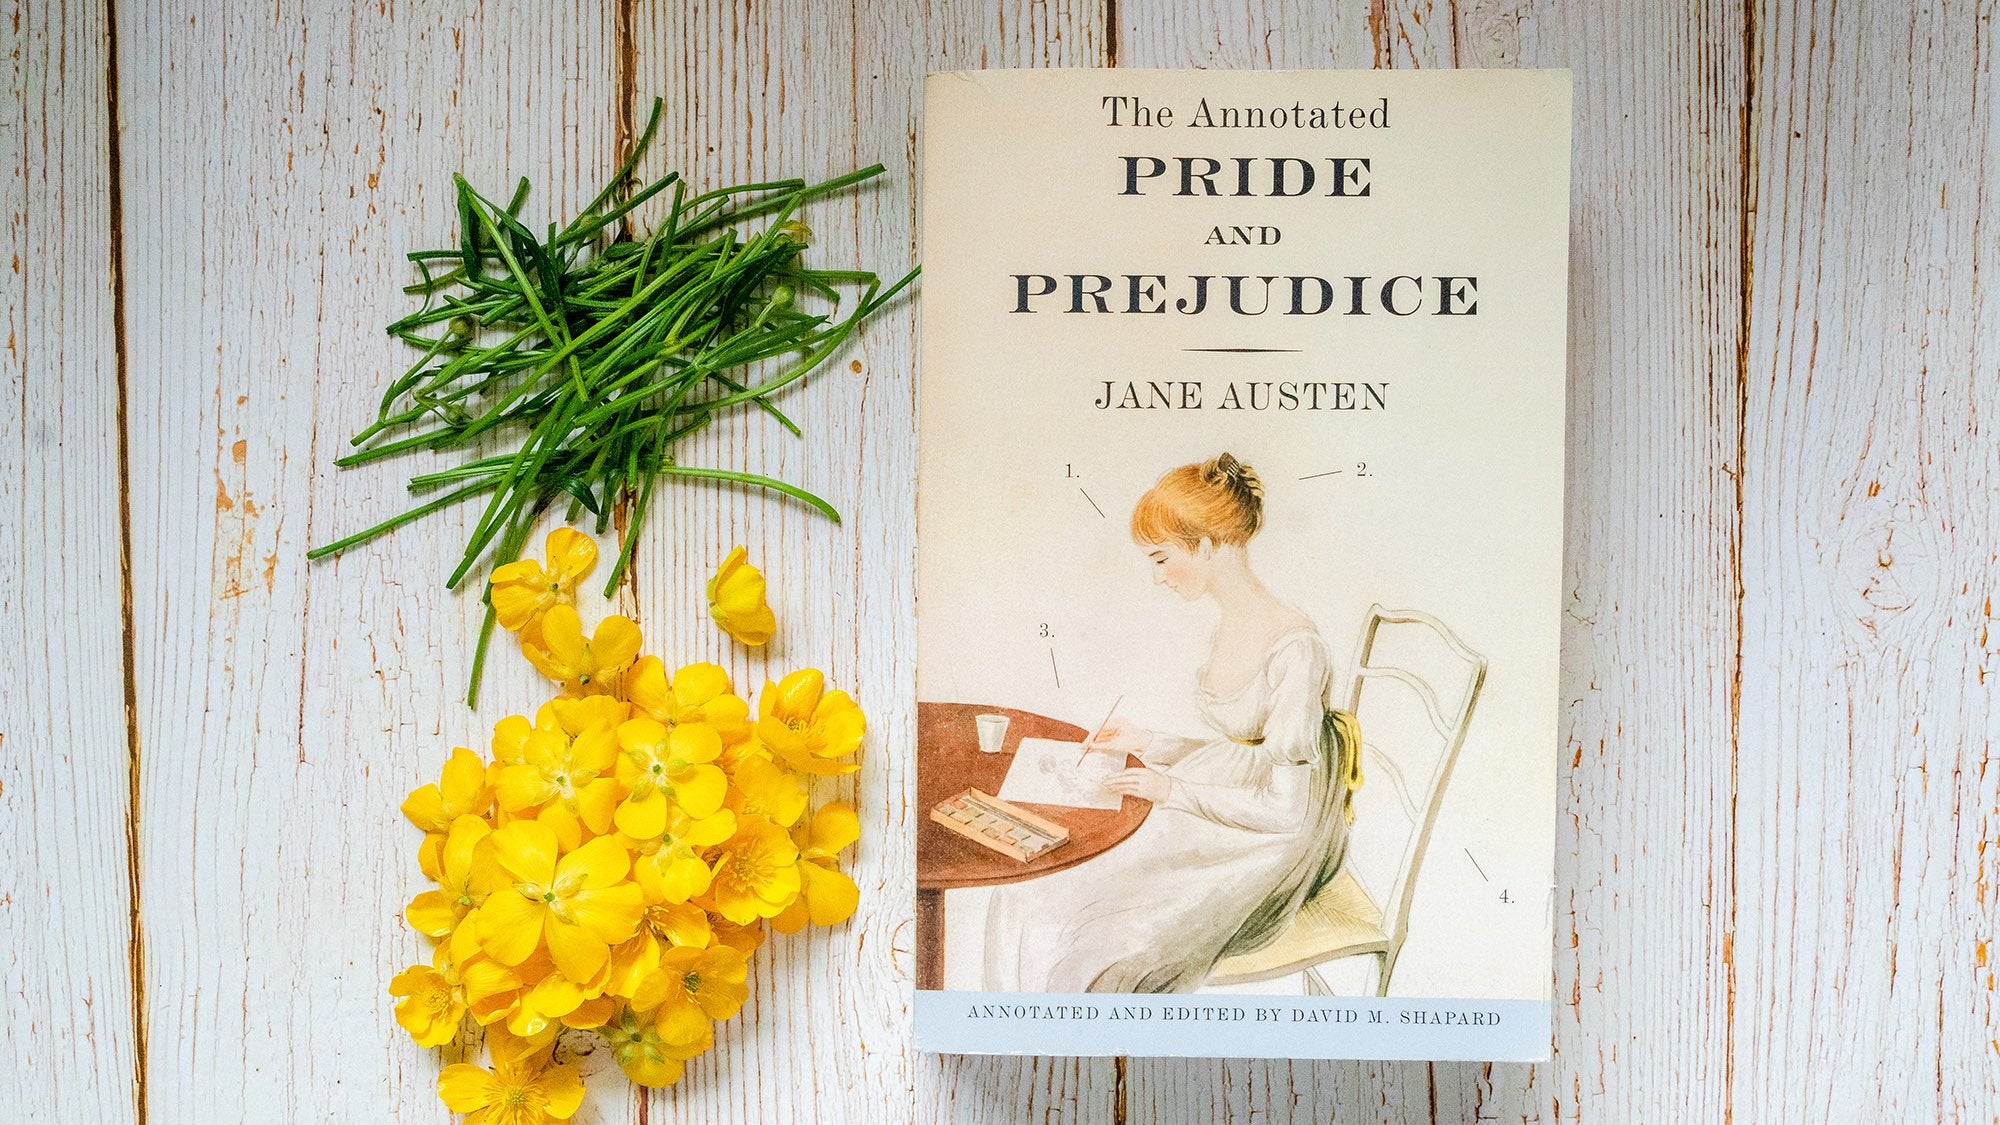
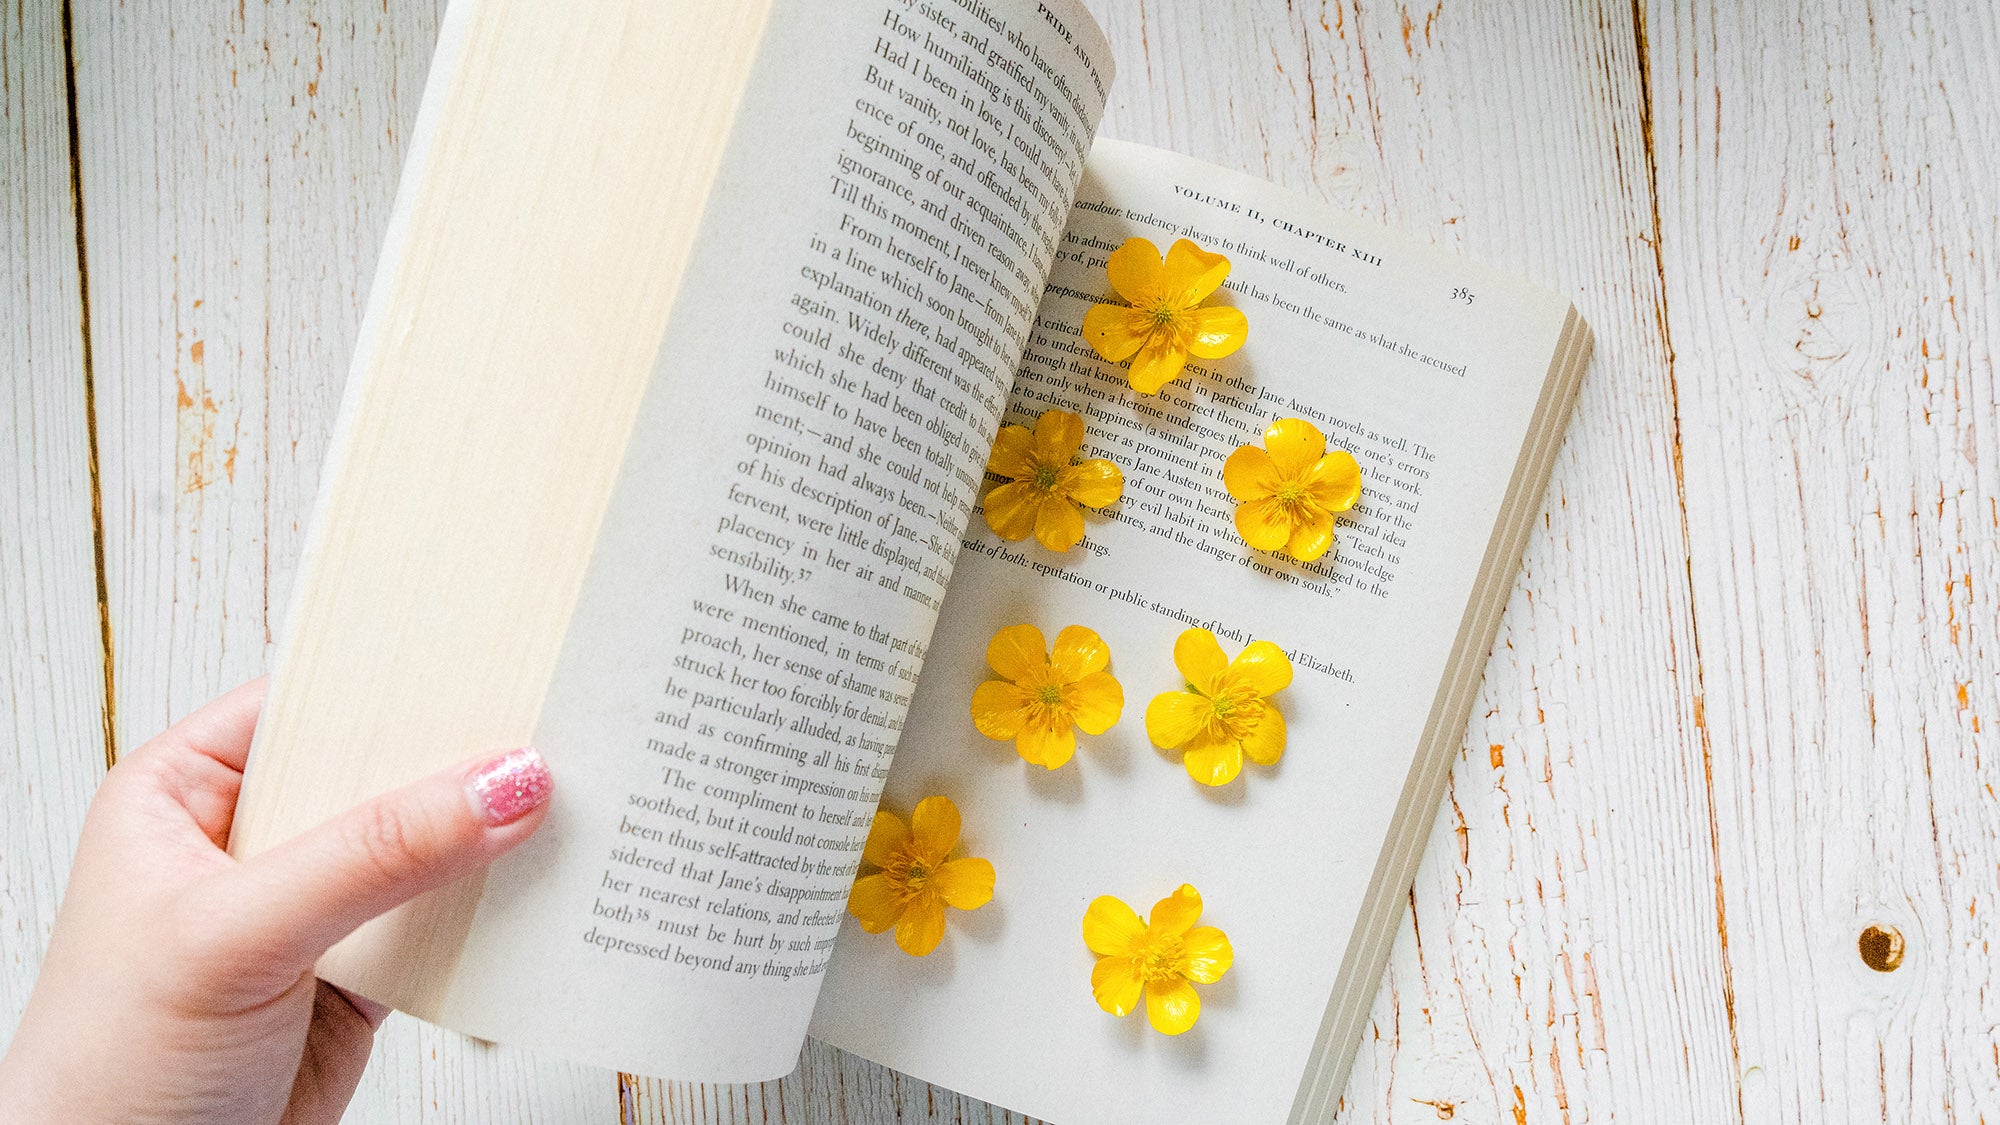
1. Prepare your flowers. I am using the wild yellow buttercup flowers that I handpicked from a local park here in Richmond, BC. Remember to collect them on a sunny day and make sure they are not wet from the rain or dew. You want to start by removing any unwanted leaves or stems. Also, only pick the ones that are spotless or without any blemishes.
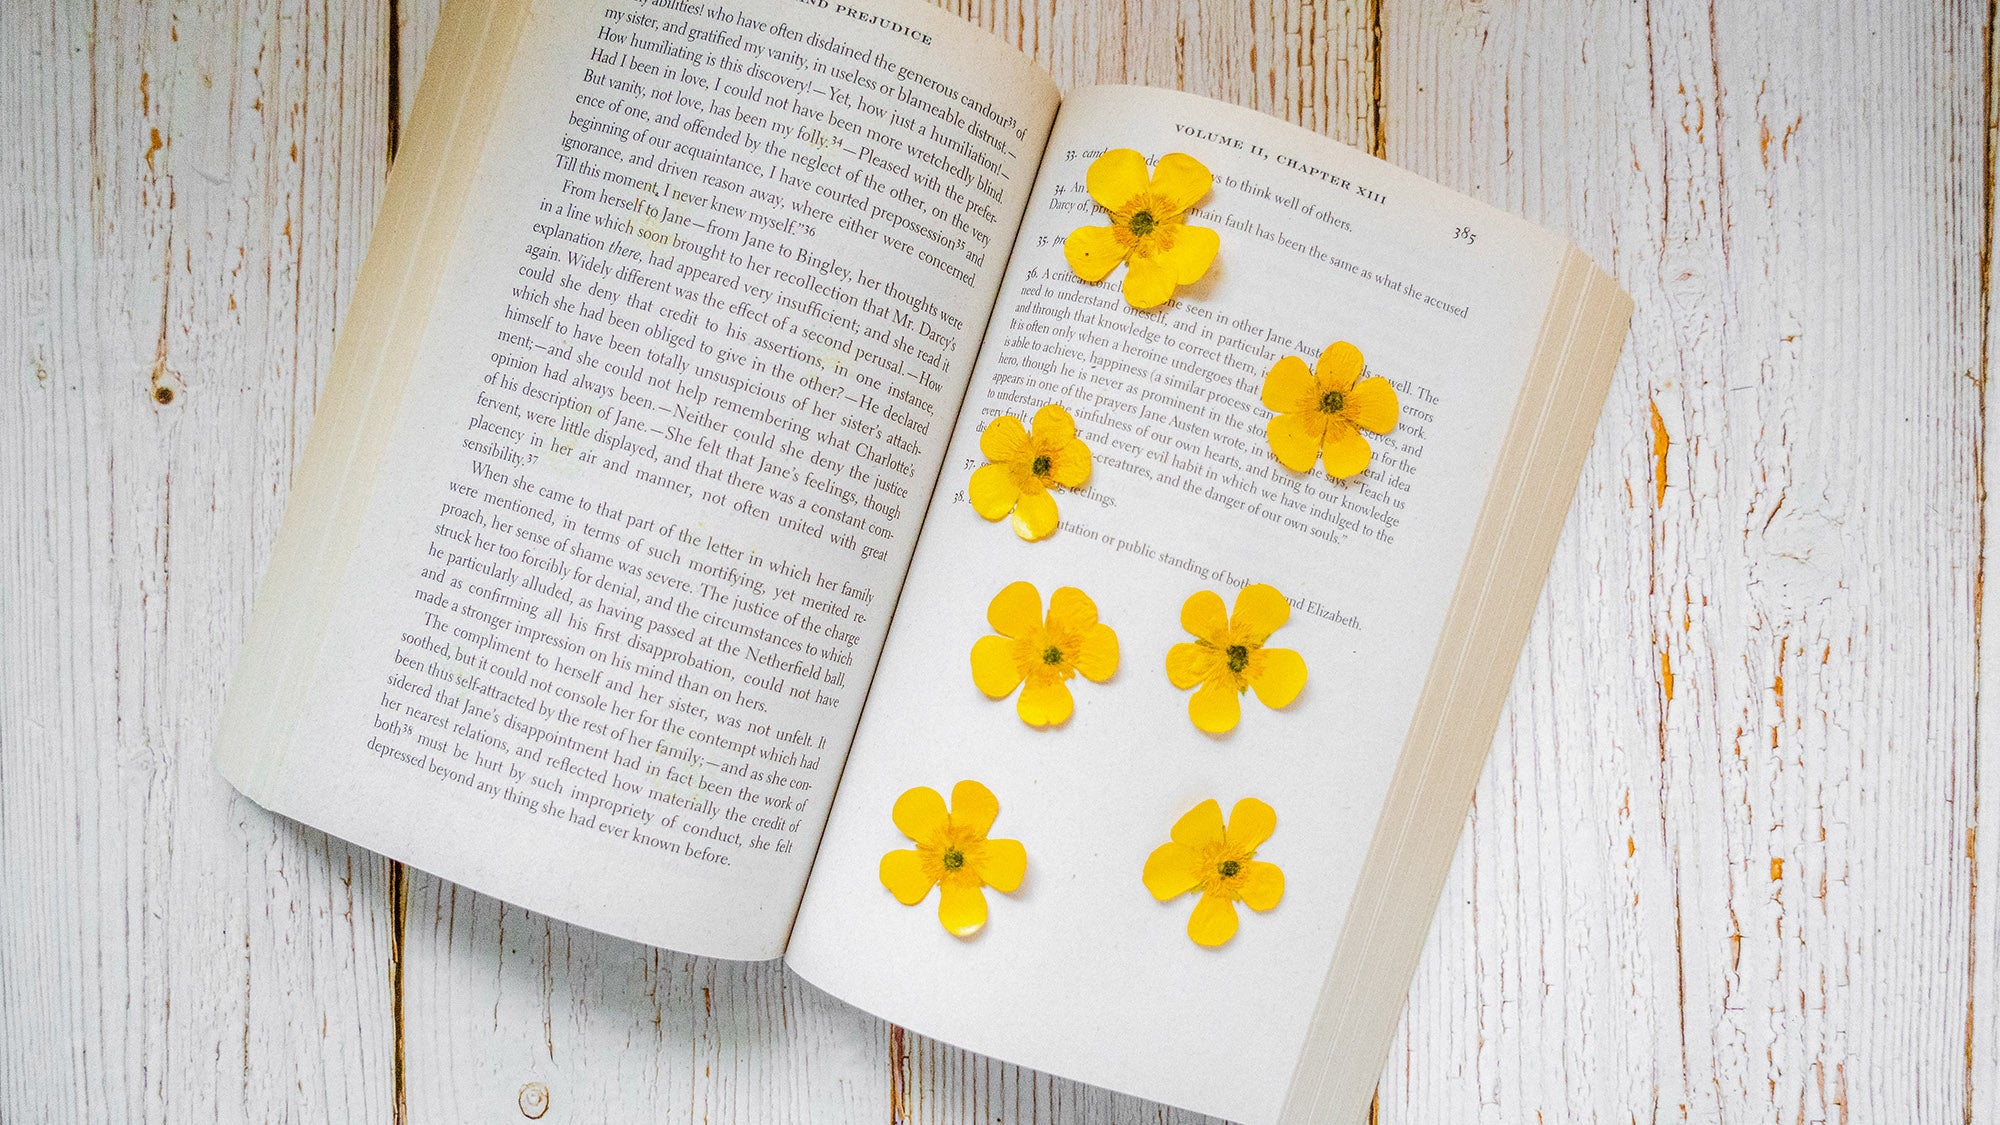
2. Open the book and place the flowers on the book's pages. Heavy books such as phone books work best for this. I am using an old book with many pages that I don't mind getting damaged. The pages will get wrinkled because of the moist from the flowers. For better results, place a layer of parchment paper on the pages before you lay the flowers down. The parchment paper will help absorb the water from the flowers. You can always place the flowers face down in the book. I find it easier to maintain the flowers natural form that way.
3. Close the book and weigh it down. You can simply just place more books on top of it, or add other heavy objects. What I always like to do is to put the book back on my bookshelf, where all my books are tightly squeezed together. It adds weight to both sides of the book.

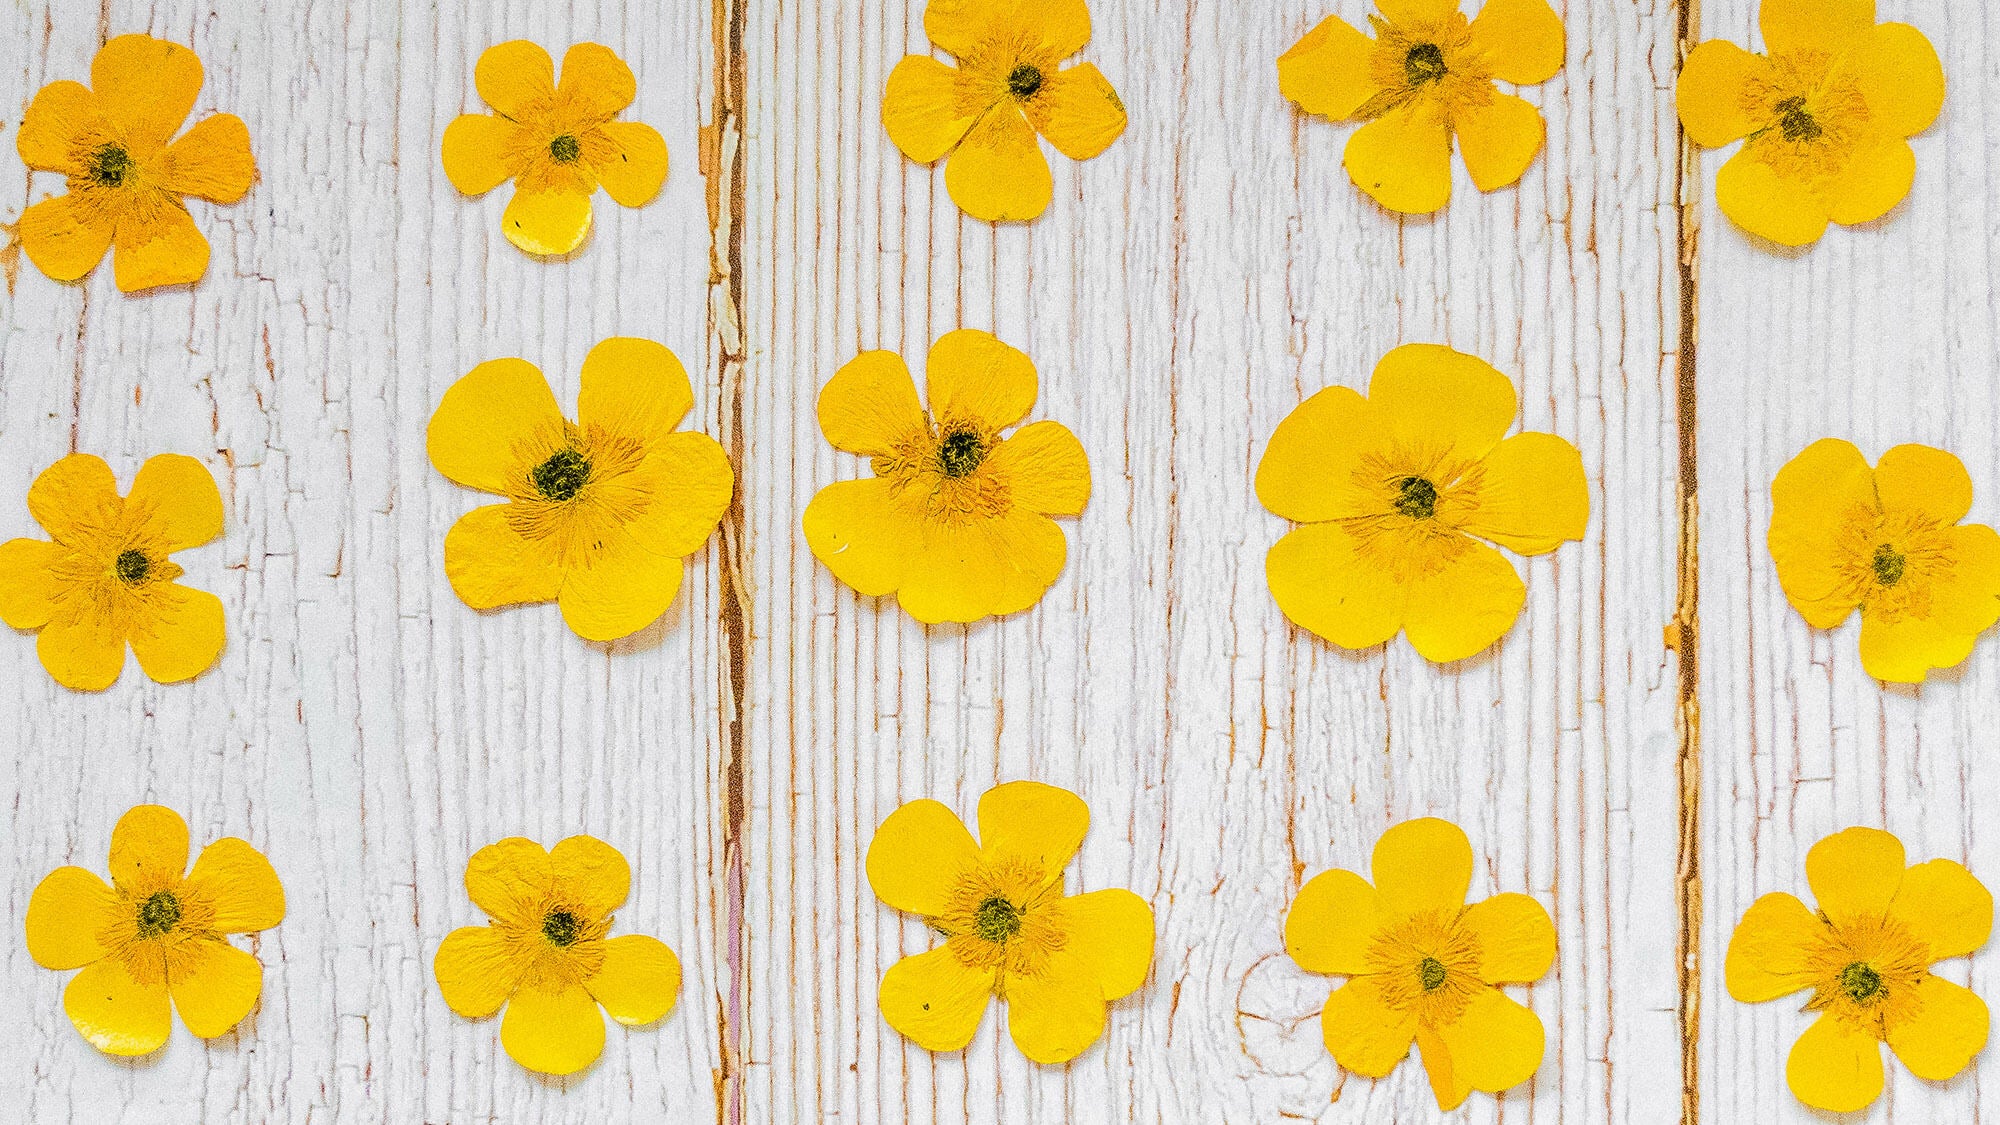
4. Let the flowers sit for 10 days. You can always press the flowers for longer if you want to. Some people suggest leaving the flowers in books for 3-4 weeks, which I find more than enough. But the longer you press the flowers, the less moist left in them. I recommend leaving them in books no shorter than a week for the best result. After 7-10 days, if they are still not completely dry, change the parchment paper and let them sit for longer.
Once you've created some beautiful pressed flowers, you can use them for so many DIY projects such as pressed flower frames, pressed flower phone cases, or pressed flower jewelry. I will post more DIY tutorials in the future for you too!
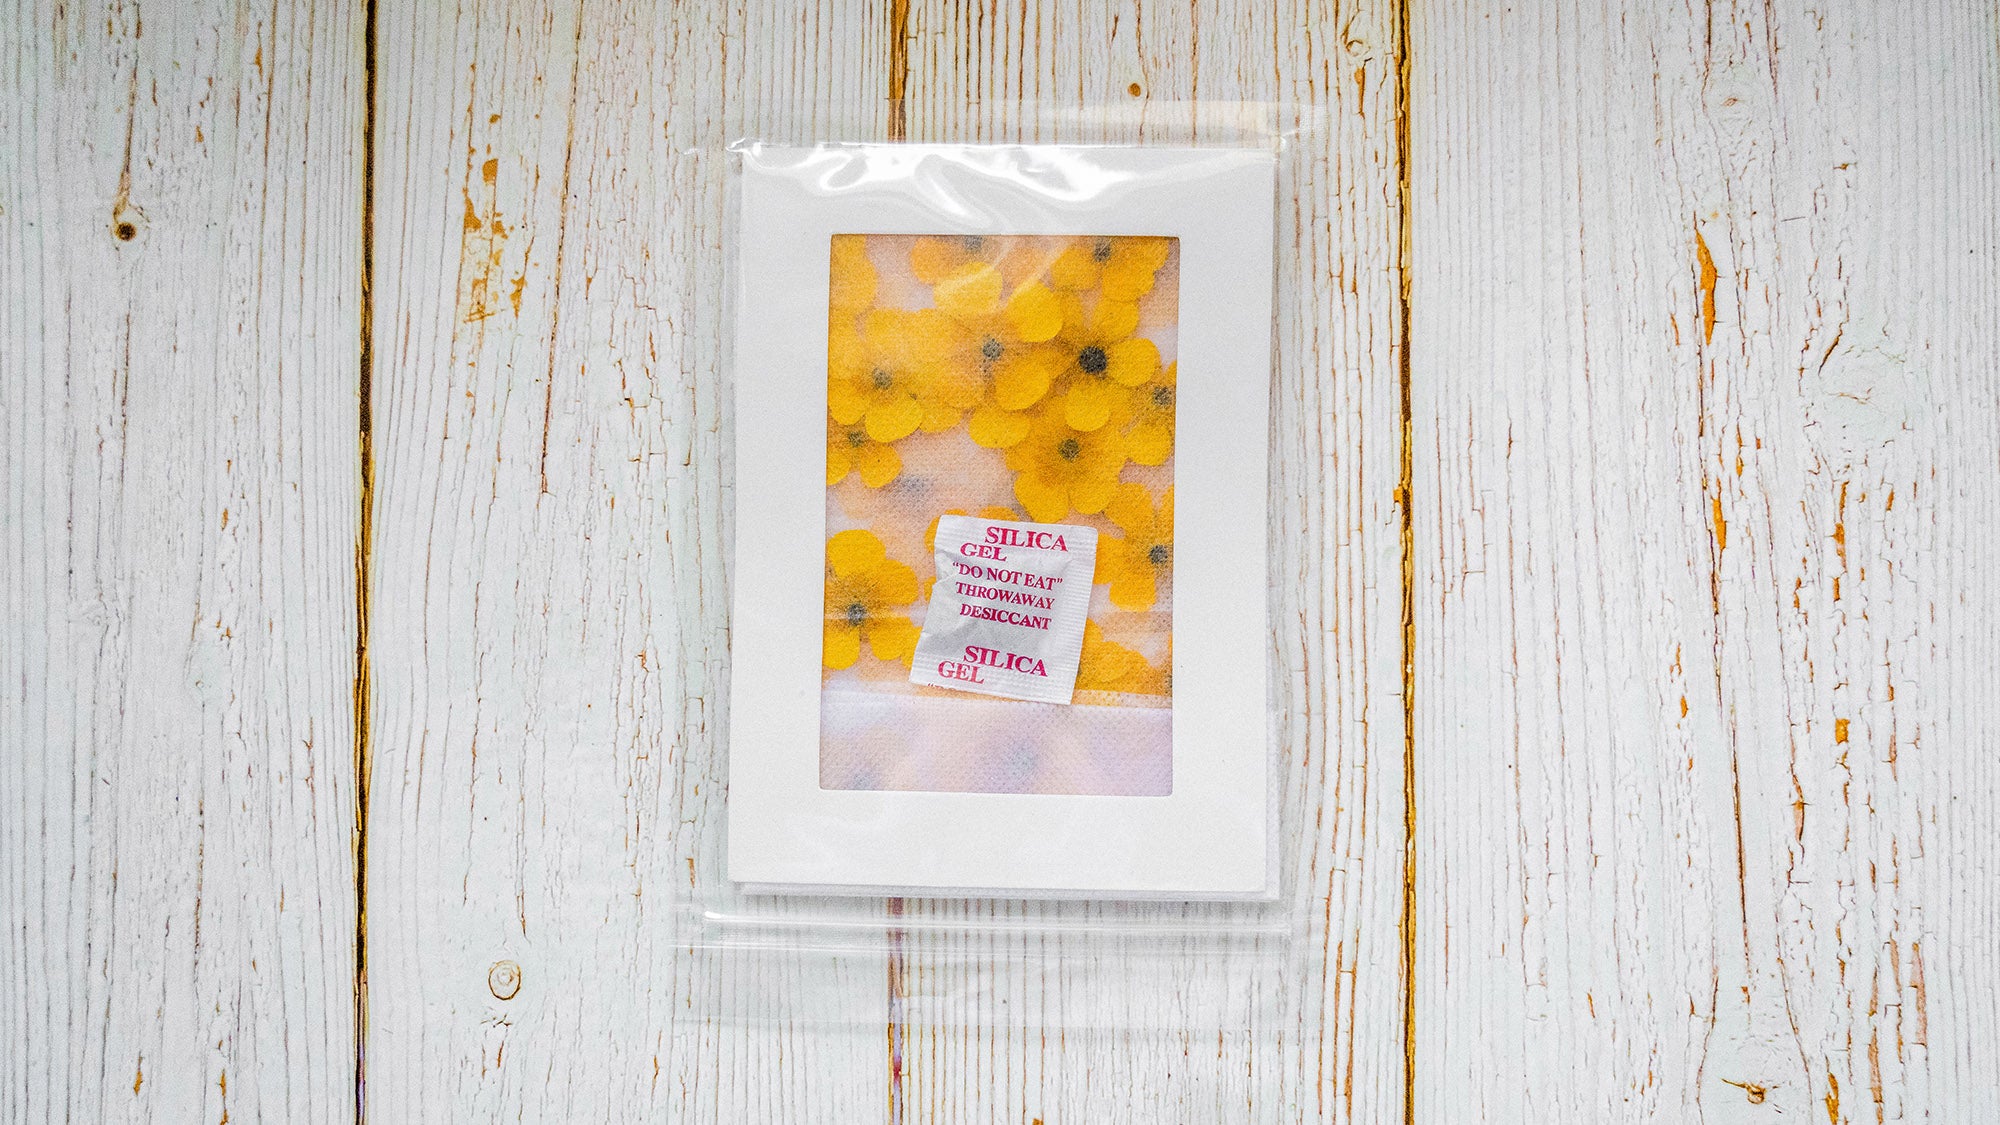
How to store your pressed flowers when they are not in use? I like to put them in plastic pouches with silica gel packs to make sure they stay dehydrated.
There you have it. The steps couldn't be more straightforward. Now it's your turn to make something stunning out of these pressed flowers of yours! Be sure to check back for more tutorials from us!